Home> Products> Exhibition Booth> Easy Install Custom Tension Fabric Ceiling Exhibition Booth
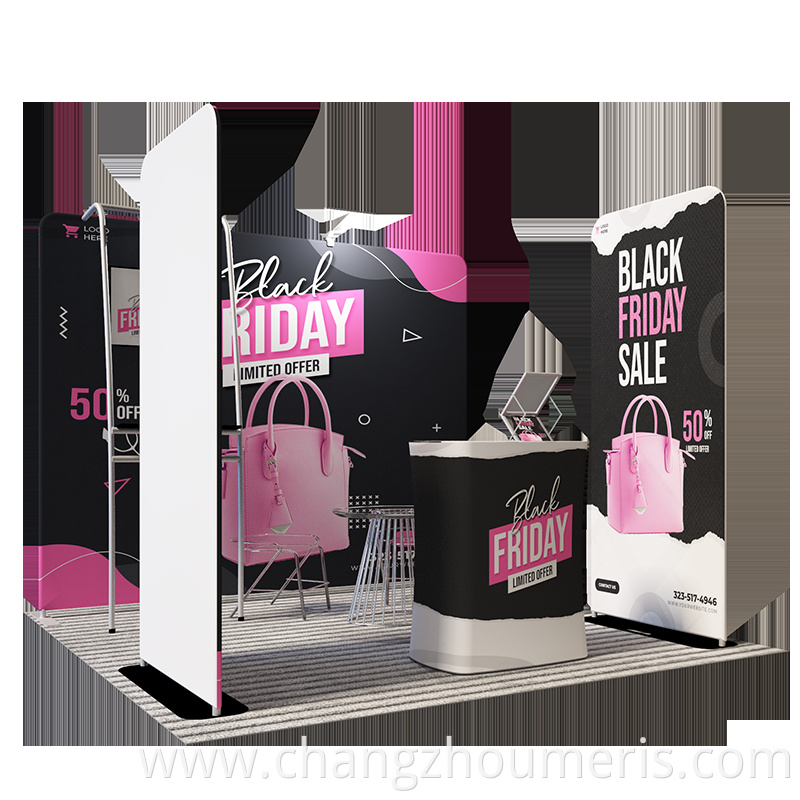
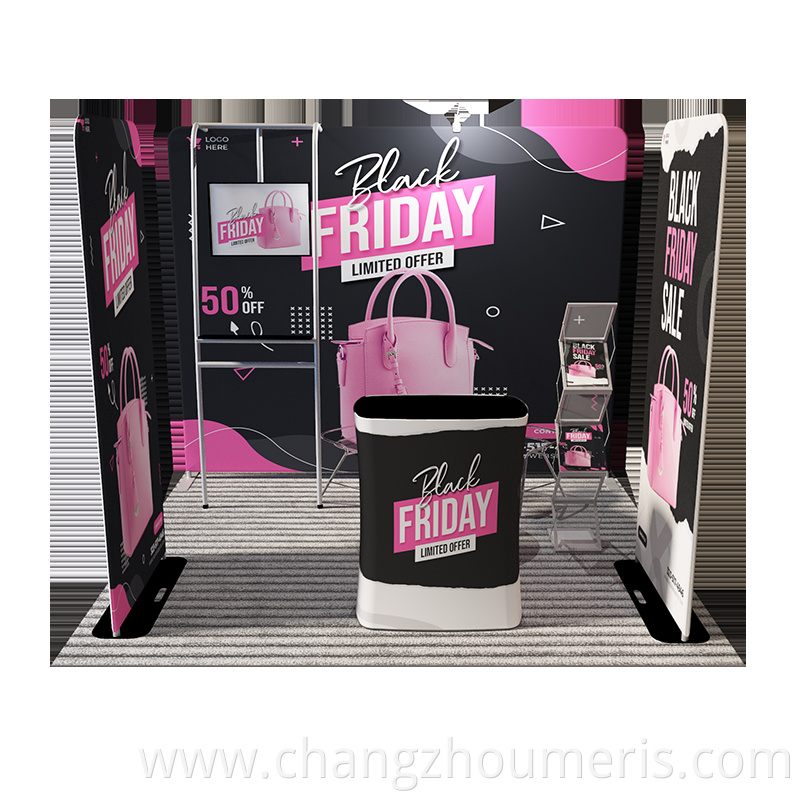
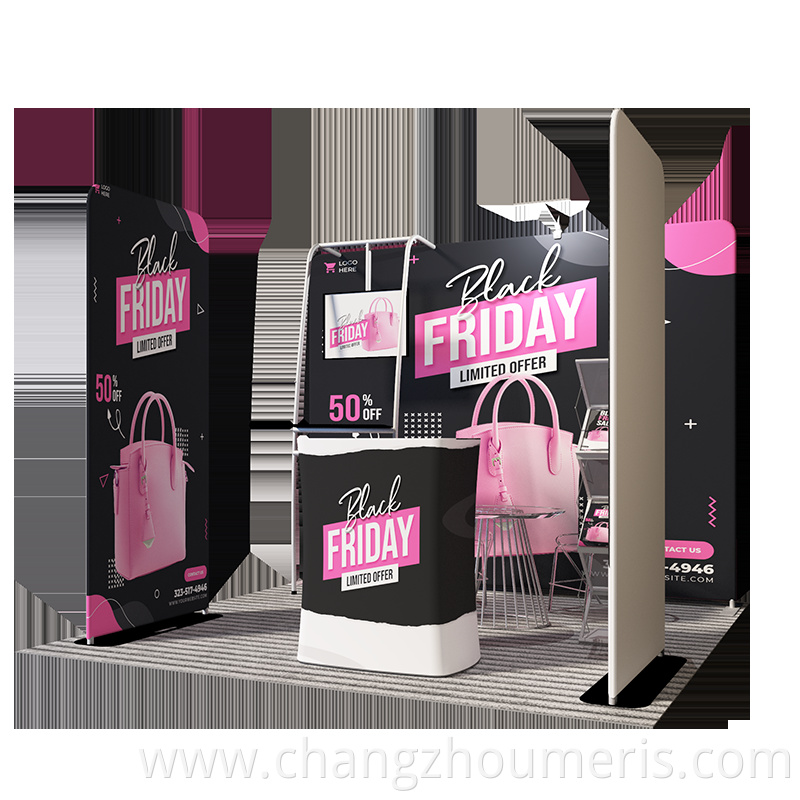
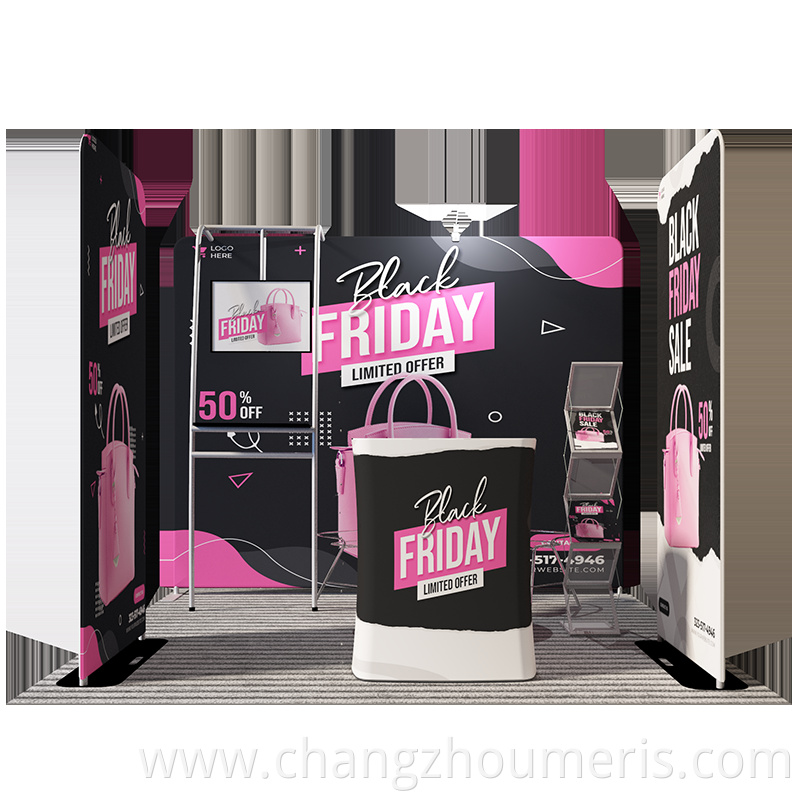
Easy Install Custom Tension Fabric Ceiling Exhibition Booth

Easy Install Custom Tension Fabric Ceiling Exhibition Booth

$325.19-817.72 /Set/Sets

Payment Type:L/C,T/T,D/P,D/A,Paypal,D/A
Incoterm:FOB,CFR,CIF,EXW,FAS,FCA,CPT,CIP,DEQ,DDP,DDU,DAF,DES
Min. Order:1 Set/Sets
Transportation:Ocean,Land,Air,Express,Express
Port:Lianyungang Port,Shanghai Port,Ningbozhoushan Port
Product Attributes

Model No.ED-06

BrandMERIS

Place Of OriginChina

Main MaterialAluminum

Fabric PrintingCustomizable

Dimension3*3m, 6*3m, customizable size

FeatureAdvertising display

Packaging & Delivery
Selling Units : Set/Sets
Package Type : CARTON
Picture Example :
Product Description

Installing a custom tension fabric ceiling for an Exhibition Booth can be a straightforward process. Here are the steps to follow:

1. Measure and plan: Start by measuring the dimensions of your Exhibition booth and determine the size and shape of the tension fabric ceiling you want to install. Make sure to account for any support structures or obstacles that may affect the installation.

2. Choose the right fabric: Select a tension fabric material that is suitable for your needs. Consider factors such as durability, opacity, and stretchability. Ensure that the fabric is flame retardant if required by exhibition regulations.

3. Create a frame: Construct a frame using aluminum or steel bars that will support the tension fabric ceiling. The frame should be sturdy and able to withstand the weight of the fabric.

4. Attach the fabric: Lay the tension fabric on a clean, flat surface and attach it to the frame using a combination of clips, hooks, or Velcro. Start by securing the corners and then work your way around, pulling the fabric taut as you go.

5. Stretch the fabric: Use a tensioning tool or a ratchet strap to stretch the fabric evenly across the frame. This will ensure a smooth and wrinkle-free appearance. Be careful not to overstretch the fabric, as it may tear or distort.

6. Trim and finish: Trim any excess fabric using sharp scissors or a utility knife. Make sure to leave a small allowance for any future adjustments. Finish the edges of the fabric by folding and securing them with adhesive or sewing, depending on the fabric type.

7. Test and adjust: Once the tension fabric ceiling is installed, check for any wrinkles, sagging, or unevenness. Make any necessary adjustments to ensure a flawless finish.

Remember to follow any specific instructions provided by the fabric manufacturer or consult a professional if you are unsure about the installation process.
Exhibition Booth9 2Exhibition Booth9 1Exhibition Booth9 3Exhibition Booth9 4


Home> Products> Exhibition Booth> Easy Install Custom Tension Fabric Ceiling Exhibition Booth
The company attaches great importance to corporate image and corporate brand building, and is one of the best qualified enterprises in the industry. At the same time, the company has its own independent factory to support the customization of all products.
Newsletter
Address
Building 12, Hebeicheng East Industrial Park, Mahang Street, Hutang Town, Changzhou, Jiangsu China

Copyright © 2024 Changzhou Meris Import And Export Co., Ltd. All rights reserved. Privacy Policy

Copyright © 2024 Changzhou Meris Import And Export Co., Ltd. All rights reserved. Privacy Policy

Send Inquiry
*
*

We will contact you immediately

Fill in more information so that we can get in touch with you faster

Privacy statement: Your privacy is very important to Us. Our company promises not to disclose your personal information to any external company with out your explicit permission.

Send